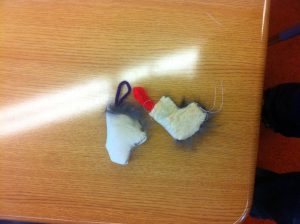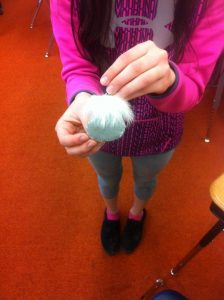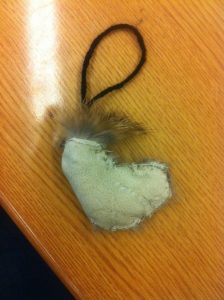
Port Graham School eighth through twelfth graders were involved in a project that began with raising rabbits, and ended with skin sewing from the tanned hides. Through active learning, students experienced every phase of this agricultural project that met both Science and Alaska Cultural Standards. This was a great opportunity for the community to help by sharing their expertise, especially for tanning and skin-sewing. Students in this small, two-room school kept the project a secret from the younger students in school, thus the project was dubbed, “Project X.”
This unique experience is highlighted here by Port Graham students Monique Cook, Rick Jager, Malachi Joseph, Suzanne LaBelle, Nicholas Meganack, and Kobe Norman.
Preparing for the Rabbits Arrival – Nick Meganack and Rick Jager
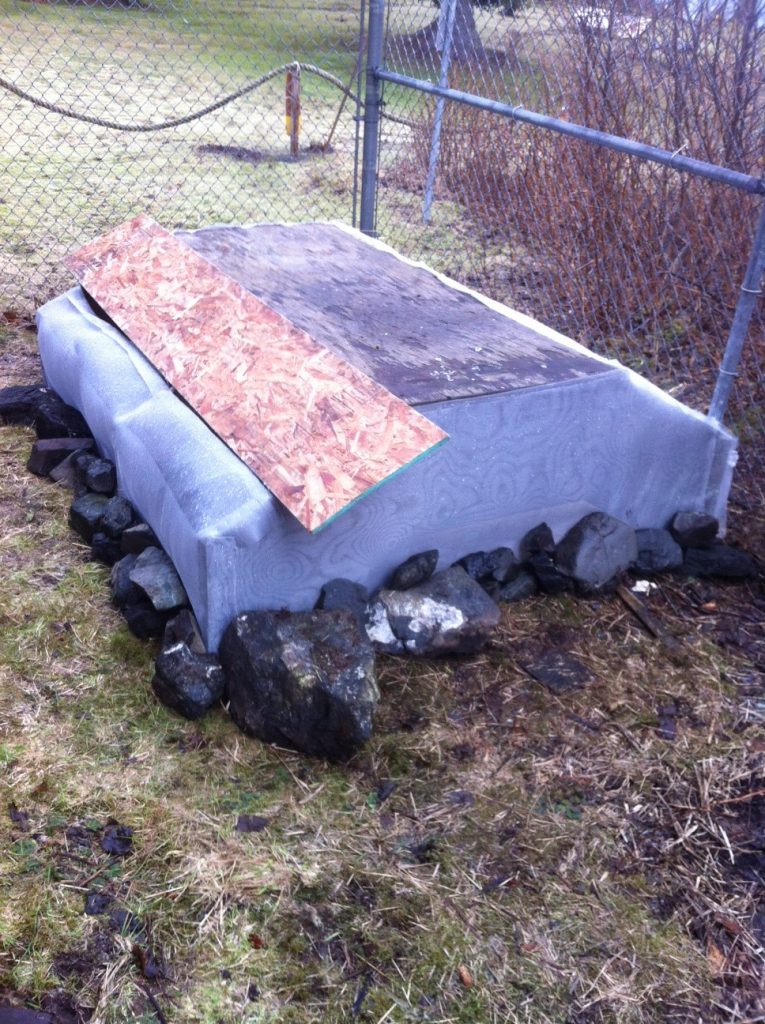
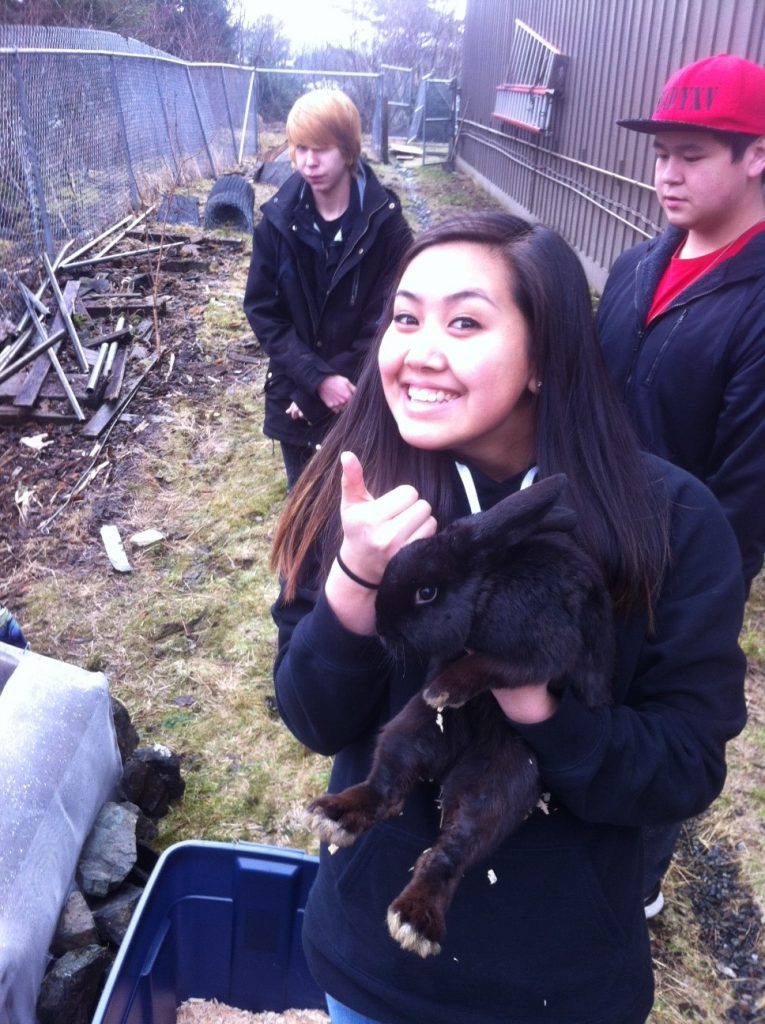
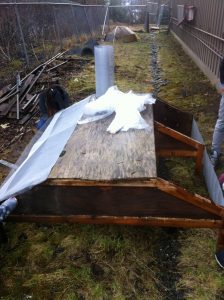
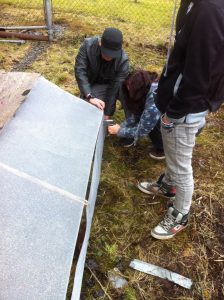
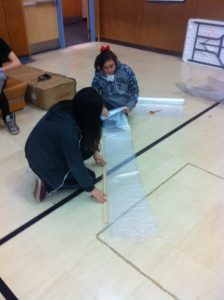
What we used for keeping the bunnies safe, was an old rowboat in the back of the school that no one ever used. As a class we spent a total of 4 hours, using a hand saw, to split the rowboat in half. Therefore, making the boat: 72 inches in length, and the height was 26 inches, with a width of 32 inches. For bedding we used hay that was from Save U More in Homer, AK. We just laid it all over the ground that was underneath the boat. We thought about what weather would come by in the village, which tends to be rain, wind, sunny days, and moisture during the months we cared for them. Therefore, we used screen and plastic wrapping, to keep out predators and the rain (and they did stay dry). They were accessible by using a board that can be lifted off of the pen.
Caring for the Rabbits – Monique Cook
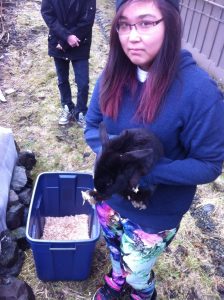
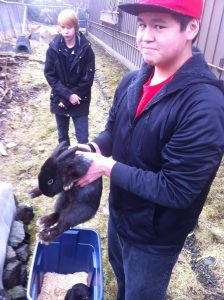
Port Graham High School students took care of rabbits for about two months. When they first got here we all talked about what we would feed them, and where we would put them. First, we put them in the woodshop [in a small cage]. We made sure to give them a bowl of water every day. We put hay under the cage to keep them warm. We fed them hay, carrots, and lettuce. While they were in the woodshop, we built a little pen for them behind the school. We all picked up poop for an elder, because it made a good fertilizer for her garden.
Skinning the Rabbits – Malachi Joseph
Skinning rabbits for our project seemed exciting to me, because this was the first animal I skinned by myself. I have watched, but have not ever helped with skinning. Our teacher, Mr. Way, taught us the method called, tubing. That is the way he has been skinning animals. The first steps, all three of us had to do, were: wash our hands, get gloves on, find string (strong enough to hold the rabbit), find a place to hang the rabbit by its hind legs, and get a trash can, sharp knife, and a knife sharpener.
Once the rabbit was hung we cut around the back legs on both sides. Then we cut down to the middle of the rabbit, making sure to do this with both of the legs. Once you have done the legs, and have met in the middle, you need to cut off the tail. This gives you an open area to begin removing the skin. Once you have all of this completed, and have an opening, you need to look for the connective tissue between the skin and the muscle. This tissue is very easy to cut, and you have to make sure you only cut the tissue to not damage the fur. As you cut the connective tissue, pull the skin down as you go, until you reach the head. At this point, all you need to is cut the head off, and now you have tubed skin. With the skins we will be tanning and sewing.
Butchering and Cooking – Suzanne LaBelle, Nick Meganack
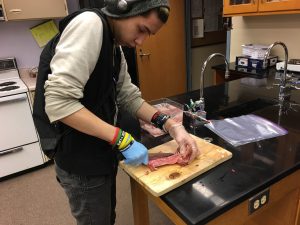
When preparing the rabbits we had to butcher them into parts that we ate, and didn’t eat. We cut the limbs, ribs, and parts of the back. We didn’t use the spinal column because there wasn’t much meat, so we gave it back to nature (fed the eagles).
After all the butchering, we made a marinade for the meat. One group made two marinades. One batch had a spicy taste, the other was earthier. We put them in a Ziploc bag with a little oil and the seasonings. Another group chose from: chipotle powder, curry powder, red pepper flakes, rosemary, or Old Bay. We marinated the meat for 24 hours.
The rabbit meat takes about four minutes to cook, on each side. The meat had to reach 160 degrees for it to be cooked through.
We then ate the rabbit meat. It was quite interesting because of the texture. The texture was like turkey. One member, Nick Meganack, wasn’t feeling well that day, but said “I wouldn’t have a problem with eating the rabbits. Since we cared for them I knew their wellbeing, and knew they didn’t have anything added to their diet.”
Tanning Process – Suzanne LaBelle, Malachi Joseph, Kobe Norman
The first thing we had to do was put the furs in a five gallon bucket with: warm water, pickling salt, and alum. We left the hides to soak in the bucket for about four days. After the rabbit hides sat in the bucket, we tore off the rest of the fat from the skin. It took us about half an hour to tear off all of the fat. When tearing the fat off the hide we had to be careful to not tear the hides.
We then stretched the hides by pinning them on a board overnight. After the hides were stretched we used Deer Hunters and Trapper Hide Tanning Formula on the skins. To get the formula ready, we put in hot water and let it warm up for about 15 minutes. We used about half of the eight ounce bottle. The tanning formula takes out the grease, and hardens the skin.
When putting the tanning formula on the skins we had to be careful to not put any of the formula on the fur, because it would ruin it. We let the skins, with the formula on them, set out overnight, then we started the next step in the process.
We washed the rabbit hides in dawn soap on the second day. After that, we all dried the skin side of the hides. We put more of the formula on the skin side, and then we needed to let the skins sit for four days.
Teacher Mr. Colby Way:
The last stages of the tanning process will involve the students: washing the hides in warm water only, painting more of the tanning formula on the skin side of the hides for two days, doing a final rinse, hang dry for three to five days. This will complete the project, the students will sewing the last week in April.
